 PVersion
Your first project
Creating a project in the console, setting your password, and setting up and downloading the project on your computer with the app.
A project is a game, a film or a piece of software. You create it in the console, then set it up on your computer with the desktop app. This page covers both. Creating a project in the console requires the Owner or Admin role in the studio and an active plan (Creating an account).
Creating the project in the console
- In the console, go to Projects in the left menu and click New project. (The same button is on the Overview page.)
- Type the project's name in Project name, for example
Atlas. - Under Server, leave On the main server selected (the options are below).
- Click Create. On your first project, while the server is being set up, the button reads Creating…; this can take a few minutes. Later projects are created in a few seconds.
- When a new server is set up, the console shows the Server ready. Save these details now. window once. The administrator details in it are not needed for daily work and are never shown again; save them somewhere safe and click OK, I saved them.
The Server options:
| Option | What happens |
|---|---|
| On the main server (default) | The project is created on your studio's main server; if it is your first project, the main server is set up in this step. Everyone on the team reaches every project with one account. |
| On a new server | A separate server is set up for the project. If the servers included in your plan are used up, it costs extra; users get a separate account on that server. Most studios don't need it. |
The project page opens. The server comes with ready-made settings for Unreal, Unity, Blender, video (Premiere Pro, After Effects, DaVinci Resolve) and software projects: file types that cannot be merged are locked while someone works on them, and temporary folders never go to the server (see below).
Setting your password
When the app downloads the project, it connects to the server on your behalf; for that you set a PVersion password once. This password is separate from your console password.
- In the console, open the Connect page from the left menu.
- If the server's card says "You don't have an account on this server yet.", click Open my account.
- In the password part of the card, fill in New password and Repeat, then click Save password. The password must be at least 8 characters and contain at least two of: upper-case letters, lower-case letters and digits.
Setting up the project in the app
Once you have installed the app and connected it to the console (Installing the app), your project appears in the list. If the project is not yet set up on this computer, the main window shows the Set up the project on your computer card.
- Choose the project from the list at the top of the card.
- In Project folder, check where the project will live on this computer. The default is
C:\PVersion\<project name>on Windows andPVersion/<project name>in your home folder on a Mac. For another place, type the path or click Browse, for exampleD:\PVersion\Atlas. Everyone chooses their own folder; the team does not have to use the same place. If you choose a folder that holds other files, the project is set up in a subfolder with its own name. - If the Your PVersion password box is shown, type the password you set on the console's Connect page. The app asks for it only once.
- Click Set up and download project.
In order, the app installs the tools it needs (the first time), prepares the folder, downloads the project and, if it is an Unreal project, writes the setting that makes Unreal open connected to the server. It is one button; if it stops halfway, click it again and only what is missing is done.
The first download
How long the download takes depends on the size of the project and your connection. The status bar at the bottom of the window shows the number of files, the size downloaded and the total, the speed and the time left.
- You can interrupt the download with Stop. Later, Set up or Update and open continues where it left off.
- When it is done, the status line shows the project's name and folder ("Ready: …"). From now on you work with Update and open every day: Getting the latest.
To move the project to another folder later, use the Set up button in the main window: type the new folder and set it up again.
Adding a second project
When an admin opens a new project in the console, it joins the list of everyone in the studio by itself. No new invitation is needed, and there is nothing for you to do in the console.
- If the app is open, New project added appears at the top of the window. The app notices a new project within 10 minutes at most, or when you come back to its window. If you don't want to wait, click Refresh; on the setup card the button is called Refresh the list.
- Click Go to the project, or choose the project from the list at the top.
- The setup card opens. Check the folder and click Set up and download project.
Your first project stays as it is; you switch between projects with the list at the top. Each project has its own folder: if you choose a folder another project uses, one inside it, or one that contains it, the app won't set up and asks you to choose another.
Putting the first files into an empty project
A new project is empty; the first download brings only PVersion's settings file into your folder. The person who set up the project puts the files into this folder and submits them to the team:
- Create your project in the Project folder, or copy your existing files there. If you are creating a new project in Unreal, choose this folder as its location.
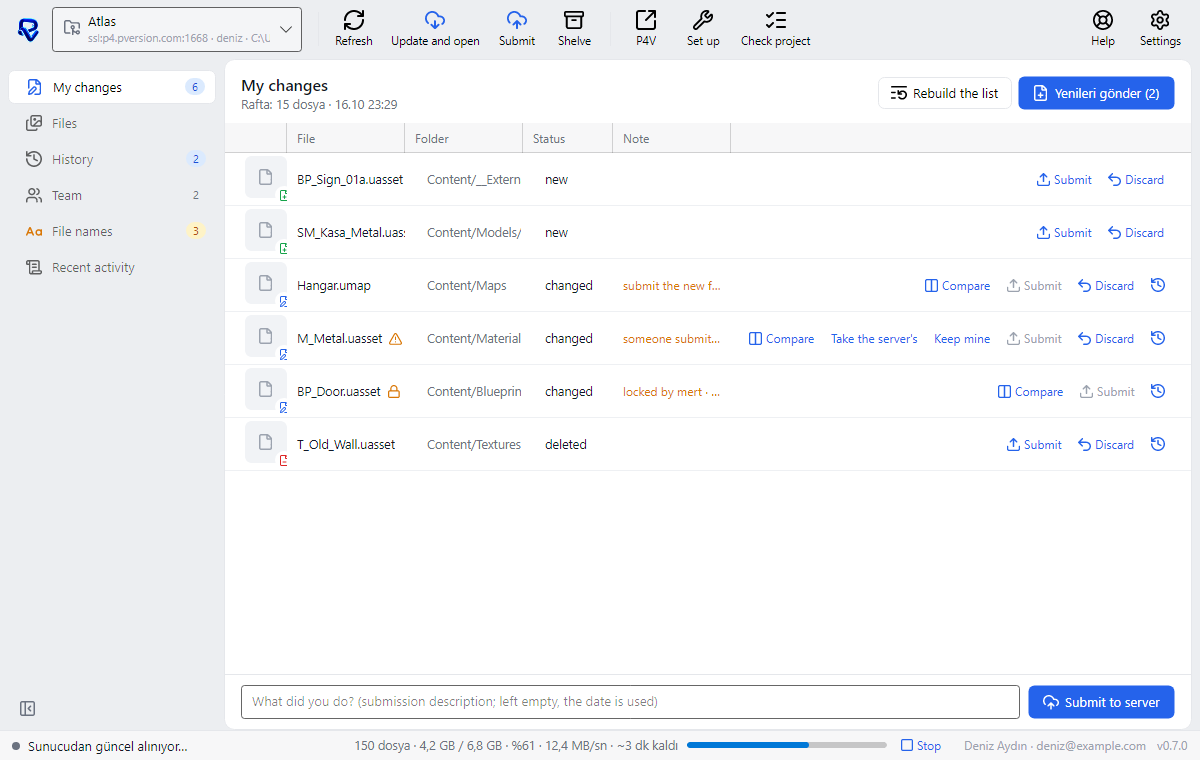
- In the app, the My changes page lists the new files as "new". If they don't show, click Refresh.
- Write what you did in the box at the bottom and click Submit to server. The Submit new files button at the top of the page sends only the new files, together.
From now on, when your teammates set up the project on their computers, they get these files. Submitting in detail: Submitting. File names with Turkish characters or names that break the rules are not submitted; the app shows them on the File names page (File names).
What is not submitted
Temporary folders and files that every computer creates again by itself never go to the server; the app does not even show them in My changes. The list that comes with a new project covers:
| Tool | Not submitted |
|---|---|
| Unreal Engine | Binaries/, Intermediate/, Saved/, DerivedDataCache/, Content/Developers/, Visual Studio and Xcode files. The compiled files of plugins do go, so the project also opens on a computer without Visual Studio. |
| Unity | Library/, Temp/, Obj/, Builds/, Logs/, UserSettings/ at the project root |
| Blender | The backups left when saving (.blend1, .blend2…); your .blend file goes |
| Video | Premiere Pro and After Effects auto-saves, preview and media cache folders |
| Software | Package and build folders such as node_modules/, .venv/, __pycache__/, bin/, obj/, target/, and .env |
| General | *.log, *.tmp, *.bak, Thumbs.db, .DS_Store |
Visual Studio solution files (.sln) and C# project files (.csproj) are not sent either, because Unreal and Unity regenerate them on every computer. If a software-only project needs them on the server, write to support.
To add the Unreal plugin to the project, see Unreal Engine; for Unity settings, Unity; for video projects, Video teams.
Ask the assistant on the site or write to [email protected].